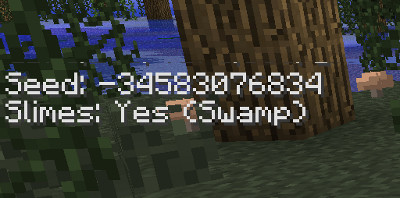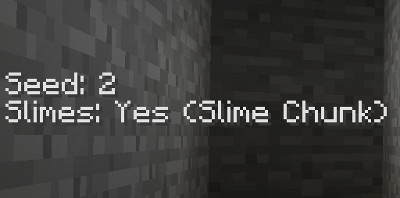
This mod expands your F3 screen to indicate whether you’re in a slime-spawning area. It takes both slime chunks and swamps into account, and also checks the height. In swamps, the mod will also tell you the effect of the lunar phase on the slime spawn rate. Additionally, it displays the numeric world seed in SSP.
Vanilla Mod (JAR Mod)
Only provides the functionality described above. Use this one if you don’t want to install Forge. It does not work in SMP and it may cause conflicts with other mods that aren’t explicitly supported.
Forge Mod
This version can also be used in SMP. By default it will only react to swamp biomes. To enable slime chunk detection in SMP, you can either install this mod on the server as well (requires forge server), or manually set the seed in the config file (usually at .minecraft/config/chunkbase_slimemod.cfg).
When installed on a server, the mod will not expose the map seed. It will only tell the clients with this mod installed whether or not the chunks around them are slime chunks. Thus, you won’t be able to see the map seed in SMP with this mod, even if it’s running on the server.
Slime Mod output


How to install:
Minecraft 1.7.x (1.6.x) (new launcher)
- Download the mod
- If you haven’t done so already, start the official launcher to download the version of Minecraft you want to use (e.g., 1.7.x)
- Go to the “>versions” folder inside your minecraft installation (by default
%appdata%/.minecraft/versionson Windows) - Create a copy of the folder whose name corresponds to the Minecraft version you want to use and name it however you want (e.g., 1.7.x_modded)
- Inside that folder, rename the existing .jar and .json files according to the folder name you just chose
- Open up the .json file in a text editor and replace the contents of the second pair of quotes with the folder name. For example, change
"id": "1.7.x"to"id": "1.7.x_modded". - Do steps 2-6 listed below (for Minecraft 1.5.2 and below), using the jar file you just renamed instead of minecraft.jar
- Start the official Minecraft launcher, click on “Edit Profile“, and, under “Use version”, select your newly created version (in this case, 1.7.x_modded)
- Save the profile, click “Play” and enjoy

![[1.7.2] Slime Mod Download](https://minecraft-forum.net/wp-content/uploads/2014/02/b8f17__Slime-Mod-11-130x100.jpg)